I migrated this website from Jekyll to Hugo about half a year ago and also took the opportunity to move hosting from GitHub Pages to Netlify. What I didn’t think to take care of at the time was site analytics.
I had been using CloudFlare to serve my site out to the interwebs and I seem to remember entering some GA code in the settings years ago. So I guess CloudFlare was handling the Google Analytics stuff? Clearly, I HAVE NO IDEA.
Anyway, I had no GA script on my website at all back then. So when I migrated over to Hugo, there was no GA script on the “new” site either. But because I now only used CloudFlare for DNS only, I guess the traffic wasn’t served via CloudFlare any longer and hence no more numbers?
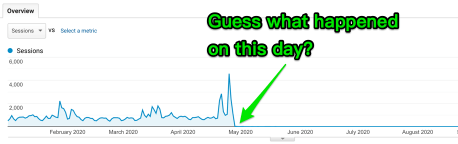
As you can tell by now, I don’t really care for analytics (on this site, at least). Because it took me 4 months to realise there were no numbers flowing into my GA dashboard (I log in maybe twice a year).
After putting two and two together and realising what had happened, I figured there was no point adding the script back since I never did anything useful with the data anyway.
What is this umami thing?
Now that I’ve set the context, let’s talk about umami, an open-source self-hosted website analytics app. About a month ago, an article by Mike Cao on how he built umami in 30 days was making the rounds among web developer circles.
I took a look at it, and the live demo, and found it so much easier to understand than Google Analytics. It told me how many people visited my site (and pages), how long they stayed, which geographical location traffic was coming from and browser/OS numbers.
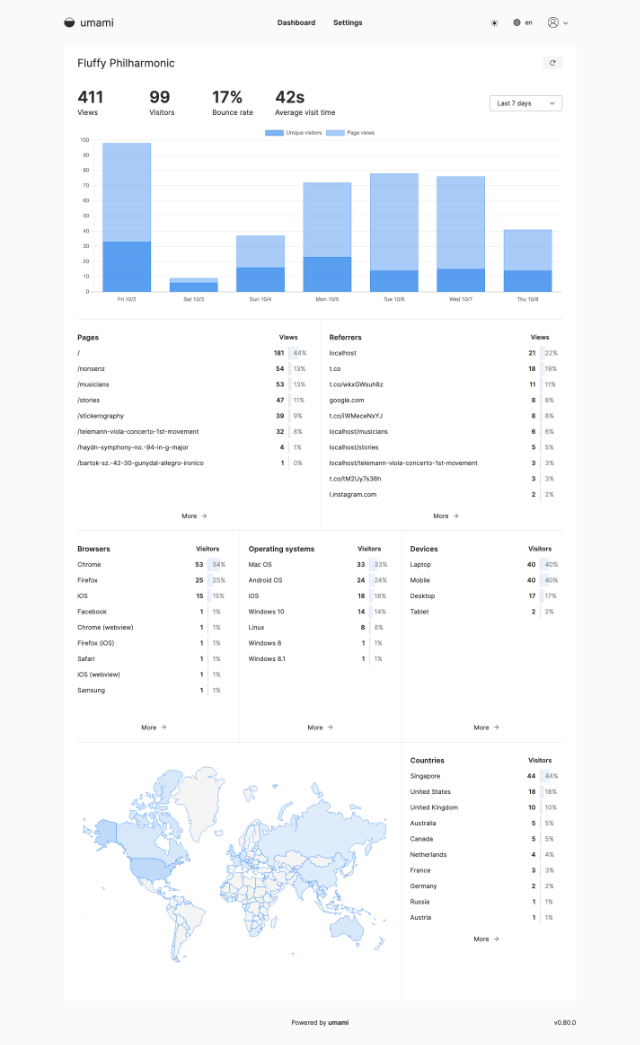
These are data points that my tiny little brain actually comprehends. Ah-mazing. I felt like less of an idiot at this point. It was always at the back of my mind to get around to setting it up, because the documentation provided very clear instructions for doing so.
I finally got around to doing it after Wei and I launched the Fluffy Philharmonic website. This is our music/art/web project about a group of fluffy musicians who love music, centred around a red panda named Viola, who loves playing the viola.

On the site, we introduce all our musicians and publish a web comic about stories that come to mind when we hear certain pieces. Even if classical music isn’t your thing, we think our characters are pretty cute, so please check out this passion project of ours. We are also selling stickers at https://redviolapanda.com if you’d like to support our efforts.
We figured it might be interesting to see what kind of audience lands on our site. Cue umami (actually I simply asked Wei if we could try umami for analytics, she said sure, so here we are).
Application setup on Heroku
Please read the umami documentation because it’s really well-written. For running umami, you need an application server running Node.js 10.13 or newer, and a database (either MySQL or PostgreSQL).
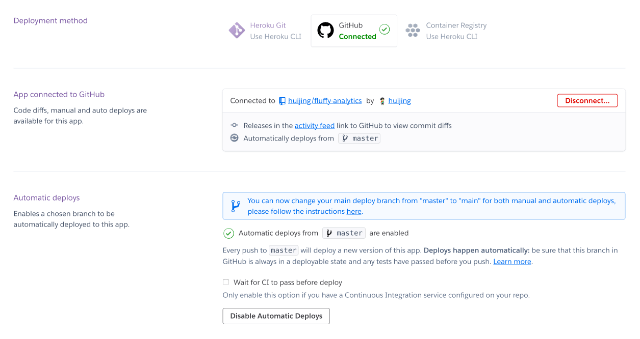
Deploying an application on Heroku is fairly straightforward, especially if you have connected your GitHub account. You can either fork or duplicate the umami repository, then connect your Heroku application to your repository from the Deploy section of the dashboard.
Database setup on Heroku
The database setup bit was more tricky for me because I hadn’t used Heroku’s Postgres addon before. You can do it via command line but I wasn’t really a Heroku power-user so it was pointy-clicky for me.
I went through the motions of installing Heroku Postgres and provisioning it to my application as per the guided workflow. After that, I could see Heroku Postgres attached as DATABASE from the Resources section of the dashboard.
According to documentation, you would want to create a database for your umami installation by running the following command:
psql -h hostname -U username -d databasename -f sql/schema.postgresql.sqlTo do that on Heroku, I suggest doing it via command line, so install the Heroku CLI. I’m using a Mac, and also installed postgresql via homebrew so I could use the psql command. Actually, I’m not sure if that was necessary. You could just do the Heroku CLI and see if that works out-the-box.
Okay, now, the part which required much Googling. How do you run sql scripts on Heroku? I found this StackOverflow answer by John Beynon, which explains how to decipher the required parameters from the DATABASE_URL in your app config settings.
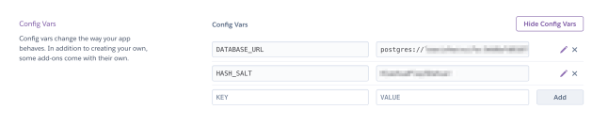
So from:
DATABASE_URL: postgres://username:password@host:port/dbnameYou can break it down into:
psql -h host -p port -d dbname -U username -f datafile.sqlIn my case, this worked out into something that looked like this:
heroku run psql -h YOUR_HOST_IP.compute.amazonaws.com -U HEROKU_ASSIGNED_USERNAME -d HEROKU_ASSIGNED_DBNAME -f sql/schema.postgresql.sql -a APPLICATION_NAMEYou will end up with a login account with username admin and password umami. You can change this once you log into your umami instance from the Profile section under Settings.
Wrapping up
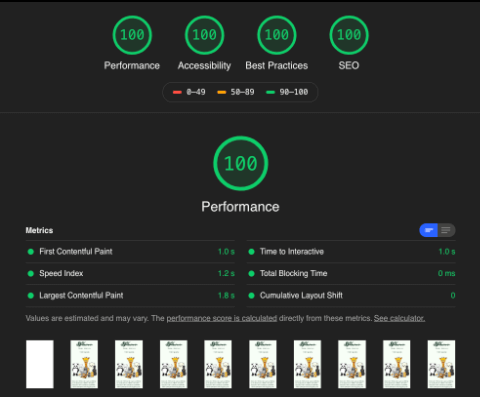
I’ve been running it for a week, and am pretty happy with how it’s working. It hasn’t had an impact on site performance thus far (our Lighthouse score fluctuates around 98-100). But depending on your site traffic, odds are you will hit the threshold of 10,000 rows on the Hobby Dev free tier.
If you are happy with it and want to continue using umami, you should probably upgrade to a higher tier on Heroku, or search for some other service that doesn’t have such limits. I’ll leave that research up to you.