Pantheon is a website management platform that is known for specialised Drupal and Wordpress services. It offers various tiers of service depending on your particular use-case. Developers can utilise a free account for all the necessary development work and charges will only kick in after deploying to production.
While it is possible to do your development work entirely on your local machine then migrating the site to Pantheon, there are some slight configuration differences between hosting on Pantheon versus your own bare-metal server. I found it easier to just start off the process on Pantheon to begin with.
All the basic stuff
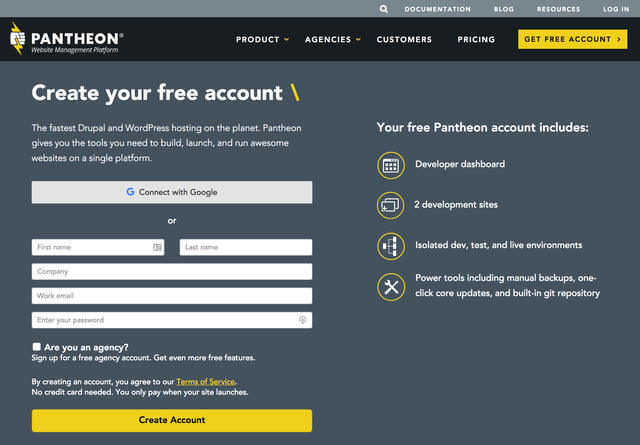
- Sign up for a Pantheon account.
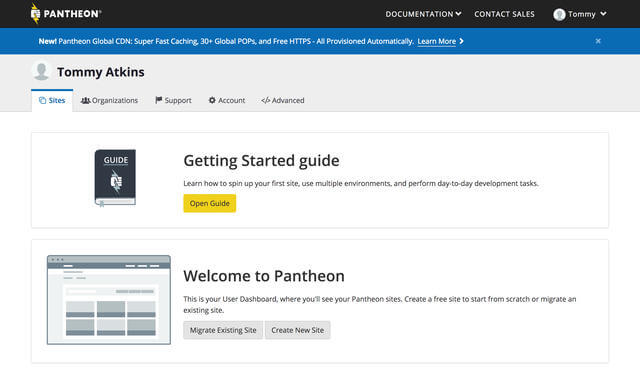
- This is how the dashboard looks like.
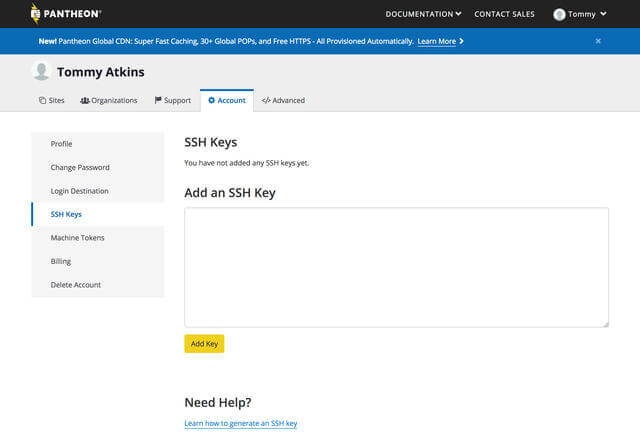
- To make life easier, I strongly advise setting up your SSH keys. Click on the Account tab and on the left navigation panel, you’ll see SSH Keys. If you don’t know how to generate SSH keys, there’s documentation available for that complete with screenshots.
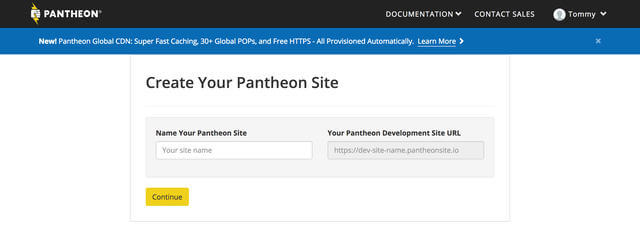
- Once that’s done, you can go back to the Sites tab to create a new site. Enter the name of your site. Whatever you enter will end up being in the the URL. Custom domains are a possibility, but that’s under the deploy-to-production, needs-to-be-paid-for part of things.
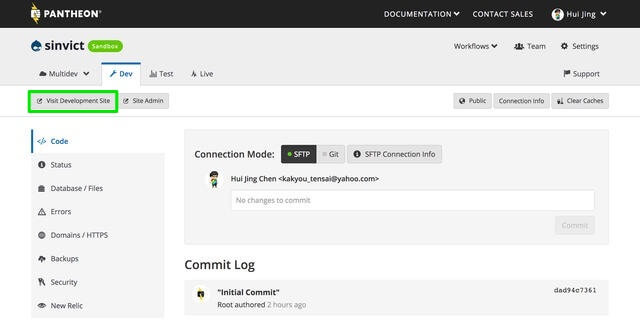
- Once your shiny new site is up, there’ll be a site dashboard available to you. For the sake of this example, my site’s name is sinvict. To set up the new site’s database, click on the Visit Development Site link and a new window will pop up with the Drupal new site set up page.
- After you’ve gone through the initial setup, there will be a new commit on your site dashboard, which is for the updated
settings.phpfile on the server itself.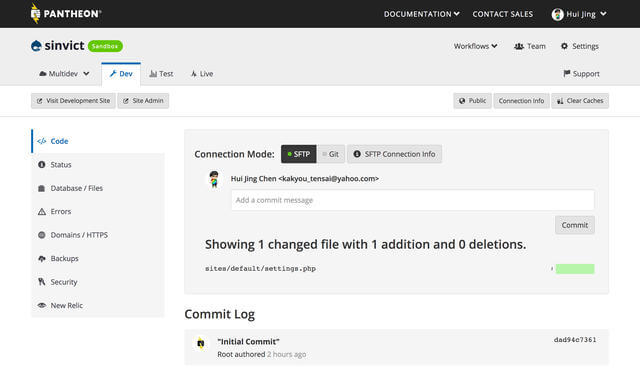
- **Optional step** If like me, you like to use the command line for most things, you can install Terminus, Pantheon’s CLI, using the following command:
or if you use fish:$ curl -O https://raw.githubusercontent.com/pantheon-systems/terminus-installer/master/builds/installer.phar && php installer.phar install$ curl -O https://raw.githubusercontent.com/pantheon-systems/terminus-installer/master/builds/installer.phar; and php installer.phar install
Local development setup
Pantheon has provided some documentation on how to get started with local development, but there are some bits that I had to figure out myself. Regardless, the documentation is good, so do read it first. The following are my exact steps for doing it.
-
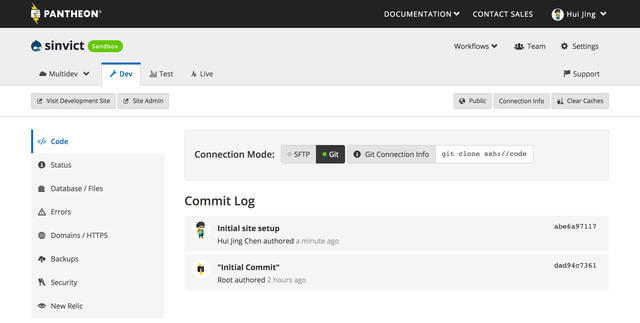
For local development, switch connection mode to Git.
-
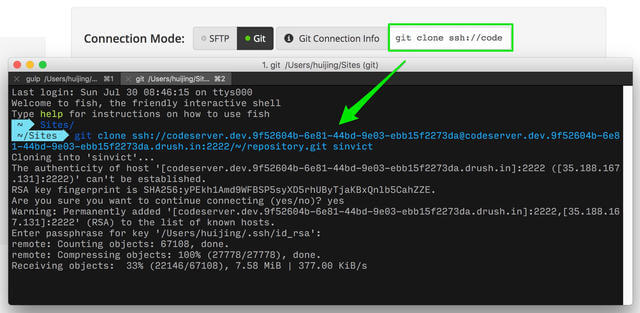
Clone your site into wherever you do site development.
-
Download a copy of the database. It will be compressed, so depending on your OS, unzip it, then import it into your local environment using your SQL client of choice.
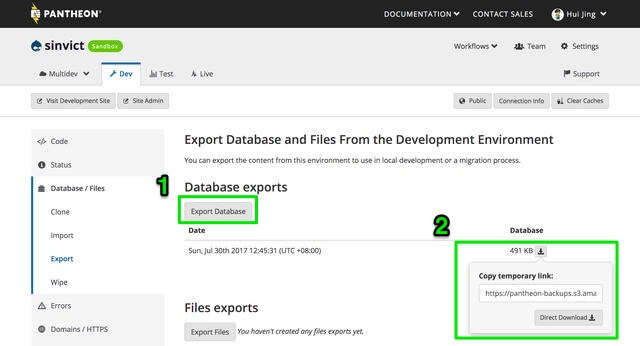
I usually use drush for this (also, my shell is fish):
eval (drush sql-connect) < /Users/huijing/Desktop/sinvict_dev_2017-07-30T04-45-31_UTC_database.sql -
Make a copy of the
example.settings.local.phpfile, which can be found in the sites folder, and put it in the default folder. Your database configuration should be set up in here. Add it to the bottom of the file. Refer to the documentation for configuring settings.php from Pantheon for further clarification.// Local development configuration. if (!defined('PANTHEON_ENVIRONMENT')) { // Database. $databases['default']['default'] = array( 'database' => 'DATABASE', 'username' => 'USERNAME', 'password' => 'PASSWORD', 'host' => 'localhost', 'driver' => 'mysql', 'port' => 3306, 'prefix' => '', ); } $settings['hash_salt'] = '$HASH_SALT';If your status report keeps telling you your configuration files are not protected, make sure the following line in the
settings.local.phpfile gets commented out (explanation here):$settings['skip_permissions_hardening'] = TRUE; -
One of my pet peeves is having any warnings or errors in the Status Report even though it’s just a local development environment and usually after this initial setup, you may get warnings with regards to trusted host settings and that the sites/default/config folder is not writable. I resolved them by adding these lines to the
settings.local.phpfile, but your mileage may vary depending on what your local development setup is like.$config_directories['sync'] = 'sites/default/config'; $settings['trusted_host_patterns'] = array( '^sinvict\.dev$', );
Committing changes to the repository
Unfortunately, in order to have multiple development branches, you’ll have to pay for a proper business account. I don’t really want to pay at this point, so I’m going to commit the sin of committing straight on the master branch. Circumstances, my friends.
My method involves drush, because I am an avid command-line lover. First off, download the drush aliases from your dashboard and place the file (pantheon.aliases.drushrc.php) in your .drush folder or the aliases folder of your local drush installation.
To check that things are working run the following:
drush saYou should see something like this:
@none
@pantheon
@pantheon.sinvict.dev
@pantheon.sinvict.live
@pantheon.sinvict.test
@self
default
With this, you can run drush commands on your Pantheon development server from the terminal on your local machine. Say you installed and enabled a module, and would like to deploy this change upstairs. Commit the module and push it up to Pantheon as you would any other server.
Then, run the following drush command to enable it upstairs:
drush @pantheon.sinvict.dev en MODULENAME -yQuirky things
This is probably just me, but on Firefox with uBlock Origin enabled, the dashboard couldn’t load for me. If that happens to be your situation, maybe try disabling uBlock Origin?
If I find any more quirky behaviour, this section will be updated, but I sincerely hope not.
Wrapping up
That’s pretty much it. If you didn’t see through me, this is actually my personal documentation for setting up to develop sites on Pantheon, so I’m sorry if you don’t find it useful. No hard feelings? 😘