The Nexmo Conversation API allows developers to build conversation features where communication can take place across multiple mediums. A key aspect of this is that the context of the conversations can be maintained across mediums, which opens up a myriad of possibilities.
This tutorial will explain the basics of how the Conversation API works by using it to build a rudimentary on-page live chat as a use-case example. This chatbox will allow customers to message a support agent in real-time and the support agent will be able to reply to the customer.
In addition, we will also cover the styling and layout part of things, including how to build a slide-in chat window, and lay out the chat messages on either side of the chat interface. The complete code and demo is available on Glitch, so feel free to remix it however you like.
Find out more about what can be done with programmable conversations at Vonage Campus, our first customer and developer conference taking place in San Francisco on October 29-30. It’s free to attend, so register to join us now!
Prerequisites
You will need to have the following prequisites in place before you begin this tutorial:
- Have Node.js installed on your machine
- Register for a free Nexmo account (sign up)
- Install the beta version of the Nexmo CLI
npm install -g nexmo-cli@beta - Setup the CLI to use your Nexmo API key and secret, which is available from the setting page in the Nexmo Dashboard
The above command will create a
nexmo setup YOUR_API_KEY YOUR_API_SECRET.nexmorcfile in your home directory and will be used for some of the other command line operations
To use the console on Glitch like you would on a local machine, click on Tools, then Logs and finally, Console.
On Glitch, do not use the -g flag when installing the Nexmo CLI
npm install nexmo-cli@beta
Scenario
What we will be building is similar to the interfaces on websites that offer a live chat option, usually triggered by clicking a button which brings up a chat window.
The chat window will connect you to a support agent on the other side of the customer service portal, and both of you will be able to chat in real-time.
Initial Setup
An easy way to start off the project is to use Glitch, because it starts you off with a Node application built on Express out of the box. You are free to use any other Node framework you like, or even write your own, but for this tutorial, we will use Express.
First, create a new Nexmo application with the nexmo app:create command.
nexmo app:create "Support Agent" --capabilities=rtc --rtc-event-url=https://YOUR_GLITCH_PROJECT.glitch.me/webhooks/event --keyfile=private.key
Let’s go through what the additional flags and parameters do. nexmo app:create "NAME_OF_APPLICATION" creates a Nexmo application with whatever name you want to call your application, and is required for the command to work.
The --capabilities flag is mandatory, and we currently support 4 capabilities, namely voice, messages, rtc and vbc. It is possible to have multiple capabilities, but for this tutorial, we will only be using rtc.
The --rtc-event-url specifies the event url, which is the webhook where Nexmo sends all the events happening on the application.
Running the command should give you an output that looks similar to this (the paths will look like this if you use Glitch):
Application created: aaaaaaaa-bbbb-cccc-dddd-0123456789ab
No existing config found. Writing to new file.
Credentials written to /app/.nexmo-app
Private Key saved to: /app/private.key
The long string generated in the first line is the Application ID, which you should take note of. We’ll refer to this as YOUR_APP_ID throughout the tutorial. The last value is your private key file. The private key is used to generate JWTs that are used to authenticate your interactions with Nexmo.
If you run ls -al, you should be able to see the private.key file in your home folder. Move the file to a .data/ folder as Glitch uses that folder for sensitive data.
mv private.key .data/private.key
The next command will create an user. This user is the support agent who will always be added to the chat. In a real world scenario, there will always be a handful of support agents talking to multiple users who require support.
nexmo user:create name=agent
This will generate an user and give you something like this in the console:
USR-00000xxx-000x-0x00-0x00-0x00xx0x0000
Do make note of this user ID as you will need it when you want to add the support agent to the conversation.
You can also store your credentials in the .env file in the root of the project.
NEXMO_API_KEY="x0xx0x0x"
NEXMO_API_SECRET="00x0x0x0xxx0x0000x0xx00x"
NEXMO_APPLICATION_ID="aaaaaaaa-bbbb-cccc-dddd-0123456789ab"
NEXMO_APPLICATION_PRIVATE_KEY_PATH=".data/private.key"
SUPPORT_AGENT="USR-00000xxx-000x-0x00-0x00-0x00xx0x0000"
Setting up Your Node Application
If you had started off with the basic hello-express Glitch template, your server.js file would be rather barebones, with only Express installed.
const express = require("express");
const app = express();

app.use(express.static("public"));

app.get("/", function(request, response) {
  response.sendFile(__dirname + "/views/index.html");
});

const listener = app.listen(process.env.PORT, function() {
  console.log("Your app is listening on port " + listener.address().port);
});
But this is a good place to start. First, install the beta version of the nexmo-node library, body-parser and a random user name generator:
npm install nexmo@beta body-parser username-generator
Add these dependencies to the server.js file:
const bodyParser = require('body-parser');
const rug = require('username-generator');

const Nexmo = require('nexmo');
Next, you want to instantiate a Nexmo instance as follows:
const nexmo = new Nexmo({
  apiKey: process.env.NEXMO_API_KEY,
  apiSecret: process.env.NEXMO_API_SECRET,
  applicationId: process.env.NEXMO_APPLICATION_ID,
  privateKey: process.env.NEXMO_APPLICATION_PRIVATE_KEY_PATH
});
Let’s settle the non-Nexmo-related portions of the server.js file, namely the routes for our respective web pages, and setting up the body-parser middleware to parse incoming request bodies.
app.use(bodyParser.json());
app.use(
  bodyParser.urlencoded({
    extended: true
  })
);
app.use(express.static('public'));

app.get('/', function(request, response) {
  response.sendFile(__dirname + '/views/index.html');
});

app.get('/agent', function(request, response) {
  response.sendFile(__dirname + '/views/agent.html');
});
As you can see from the routes, there are 2 separate web pages. In theory, these would be 2 separate applications but for the purpose of this tutorial, we have combined them into a single project.
Let’s define an Access Control List (ACL) in the server.js file. This is a list of paths which are Nexmo API paths and are used to generate the JWT with appropriate permissions.
const ACL = {
  paths: {
    '/*/users/**': {},
    '/*/conversations/**': {},
    '/*/sessions/**': {},
    '/*/devices/**': {},
    '/*/image/**': {},
    '/*/media/**': {},
    '/*/applications/**': {},
    '/*/push/**': {},
    '/*/knocking/**': {}
  }
};
We need to define some variables to implement some form of in-memory persistence for this tutorial application. An overview of the process is as follows: if the conversation already exists, return the conversation details to the UI. Otherwise, these steps will take place:
- Create a new random user (which acts as a customer requesting support)
- If user creation is successful, create a new conversation
- If conversation creation is successful, add the newly created user to the conversation
- If the user is successfully added, add the support agent to the conversation
- If the support agent is successfully added, return the active conversation details to the UI
let activeConversationDetails;
let agentMember;

app.route('/api/new').get((req, res) => {
  if (activeConversationDetails) {
    res.json(activeConversationDetails);
  } else {
    nexmo.users.create( /* Creates a new random user */
      {
        name: rug.generateUsername('-')
      },
      (error, user) => {
        if (error) console.log(error);

        if (user) { /* If user creation successful, create a new conversation */
          nexmo.conversations.create(
            {
              display_name: rug.generateUsername()
            },
            (error, conversation) => {
              if (error) console.log(error);

              if (conversation) { /* If conversation creation successful, add the newly created user to the conversation */
                nexmo.conversations.members.add(
                  conversation.id,
                  {
                    action: 'join',
                    user_id: user.id,
                    channel: {
                      type: 'app'
                    }
                  },
                  (error, member) => {
                    if (error) console.log(error);

                    if (member) { /* If user was successfully added, then add the support agent */
                      nexmo.conversations.members.add(
                        conversation.id,
                        {
                          action: 'join',
                          user_id: process.env.SUPPORT_AGENT,
                          channel: {
                            type: 'app'
                          }
                        },
                        (error, agent) => {
                          if (error) console.log(error);
                          const jwt = Nexmo.generateJwt( /* Generate JWT for random user, needed for logging into the client SDK */
                            process.env.NEXMO_APPLICATION_PRIVATE_KEY_PATH,
                            {
                              application_id: process.env.NEXMO_APPLICATION_ID,
                              sub: member.name,
                              exp: new Date().getTime() + 86400,
                              acl: ACL
                            }
                          );
                          if (agent) { /* If agent was successfully added, then return active conversation details */
                            agentMember = agent.id;
                            activeConversationDetails = {
                              user,
                              conversation,
                              member,
                              agent,
                              jwt
                            };
                            res.json(activeConversationDetails);
                          }
                        }
                      );
                    }
                  }
                );
              }
            }
          );
        }
      }
    );
  }
});
For the support agent, the route is much shorter.
app.route('/api/jwt/:user').get((req, res) => {
  const jwt = Nexmo.generateJwt( /* For programatically generating JWT */
    process.env.NEXMO_APPLICATION_PRIVATE_KEY_PATH,
    {
      application_id: process.env.NEXMO_APPLICATION_ID,
      sub: req.params.user,
      exp: new Date().getTime() + 86400,
      acl: ACL
    }
  );
  res.json({
    jwt: jwt,
    conversation: activeConversationDetails.conversation
  });
});
Lastly, we need to set up the webhook URL, which gets all the events that occur on the application, and can be used for debugging or further functionality developement.
app.route('/webhooks/event').post((req, res) => {
  console.log(req.body);
});
Using the Nexmo Client SDK for Javascript
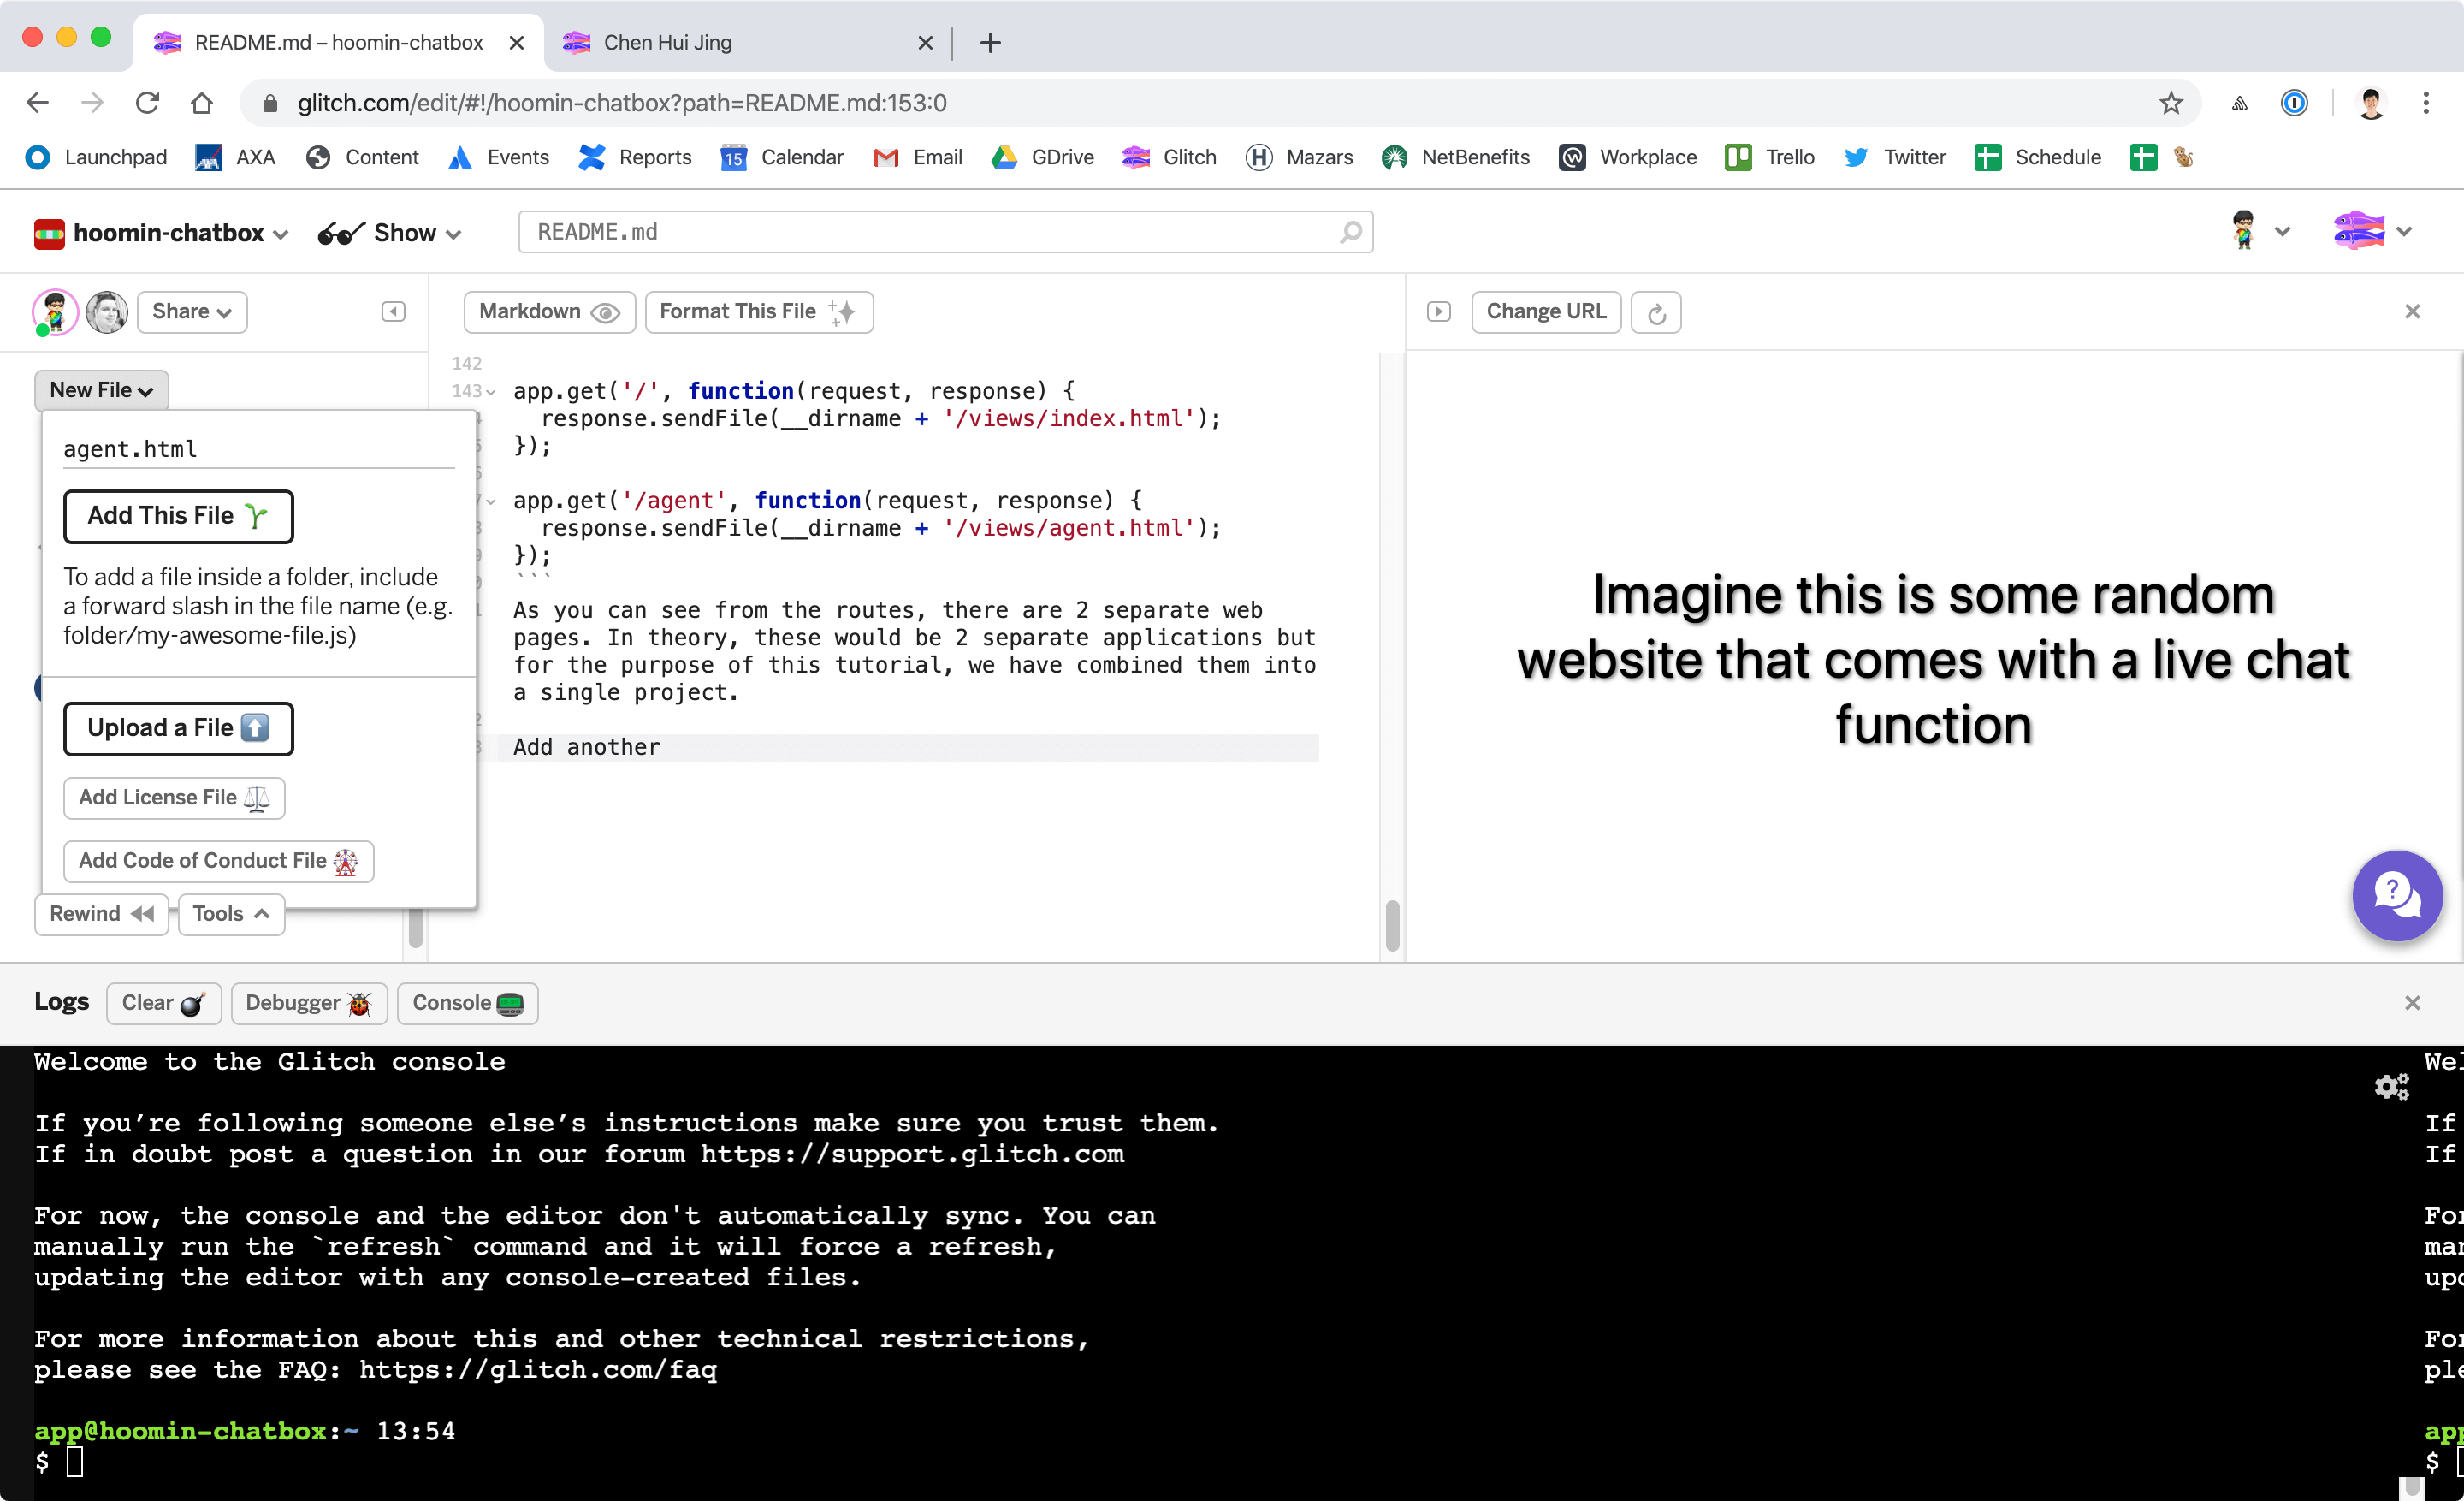
Glitch starts you off with a single index.html file in the views/ folder. Add another HTML file to the views/ folder called agent.html.
We will also have separate CSS and Javascript files for each page. To avoid additional complexity from module loaders, this tutorial has placed all the shared functions into a common.js file.
Your public folder would look something like this:
public/
|-- agent.css
|-- agent.js
|-- client.css
|-- client.js
`-- common.js
The bulk of the work is done with the Nexmo Client SDK for Javascript. You can either install the Client Library via NPM or use a CDN hosted version. Include the script in both the index.html and agent.html
<script src="https://cdn.jsdelivr.net/npm/nexmo-client@6.0.1/dist/nexmoClient.js"></script>
The functionality on both the customer and agent side are fairly similar and a couple of functions can be abstracted into a common Javascript file. We need a function to grab the conversation details from the server so they can be used for the UI.
let activeConversation;

function setupConversation(apiPath) {
  fetch(apiPath) /* To generate the JWT for the agent */
    .then(function(response) {
      return response.json();
    })
    .then(function(response) {
      new NexmoClient({
        debug: false
      })
        .login(response.jwt) /* Used to log into Nexmo */
        .then(app => {
          console.log('*** Logged into app', app);
          return app.getConversation(response.conversation.id); /* Grabs conversation from Nexmo's server */
        })
        .then(conversation => {
          console.log('*** Retrieved conversations', conversation);
          activeConversation = conversation;
          setupListeners();
        })
        .catch(console.error);
    });
}
We also want to have some listeners that will populate the text entered by either party into their respective chat windows. The text is obtained from the payload returned by the fetch request from the Nexmo server.
function setupListeners() {
  const form = document.getElementById('textentry');
  const textbox = document.getElementById('textbox');

  activeConversation.on('text', (sender, message) => {
    console.log(sender, message);
    appendMessage(
      message.body.text,
      `${sender.user.name === 'agent' ? 'agent' : 'input'}`
    );
  });

  form.addEventListener('submit', event => {
    event.preventDefault();
    event.stopPropagation();
    const inputText = textbox.value;
    activeConversation.sendText(inputText);
    textbox.value = '';
  }, false);
}

let messageId = 0;

function appendMessage(message, sender, appendAfter) {
  const messageDiv = document.createElement('div');
  messageDiv.classList = `message ${sender}`;
  messageDiv.innerHTML = '<p>' + message + '</p>';
  messageDiv.dataset.messageId = messageId++;

  const messageArea = document.getElementById('message-area');
  if (appendAfter == null) {
    messageArea.appendChild(messageDiv);
  } else {
    const inputMsg = document.querySelector(
      `.message[data-message-id='${appendAfter}']`
    );
    inputMsg.parentNode.insertBefore(messageDiv, inputMsg.nextElementSibling);
  }

  messageArea.scroll({ /* Scroll the message area to the bottom. */
    top: messageArea.scrollHeight,
    behavior: 'smooth'
  });

  return messageDiv.dataset.messageId; /* Return this message id so that a reply can be posted to it later */
}
On the Customer Side
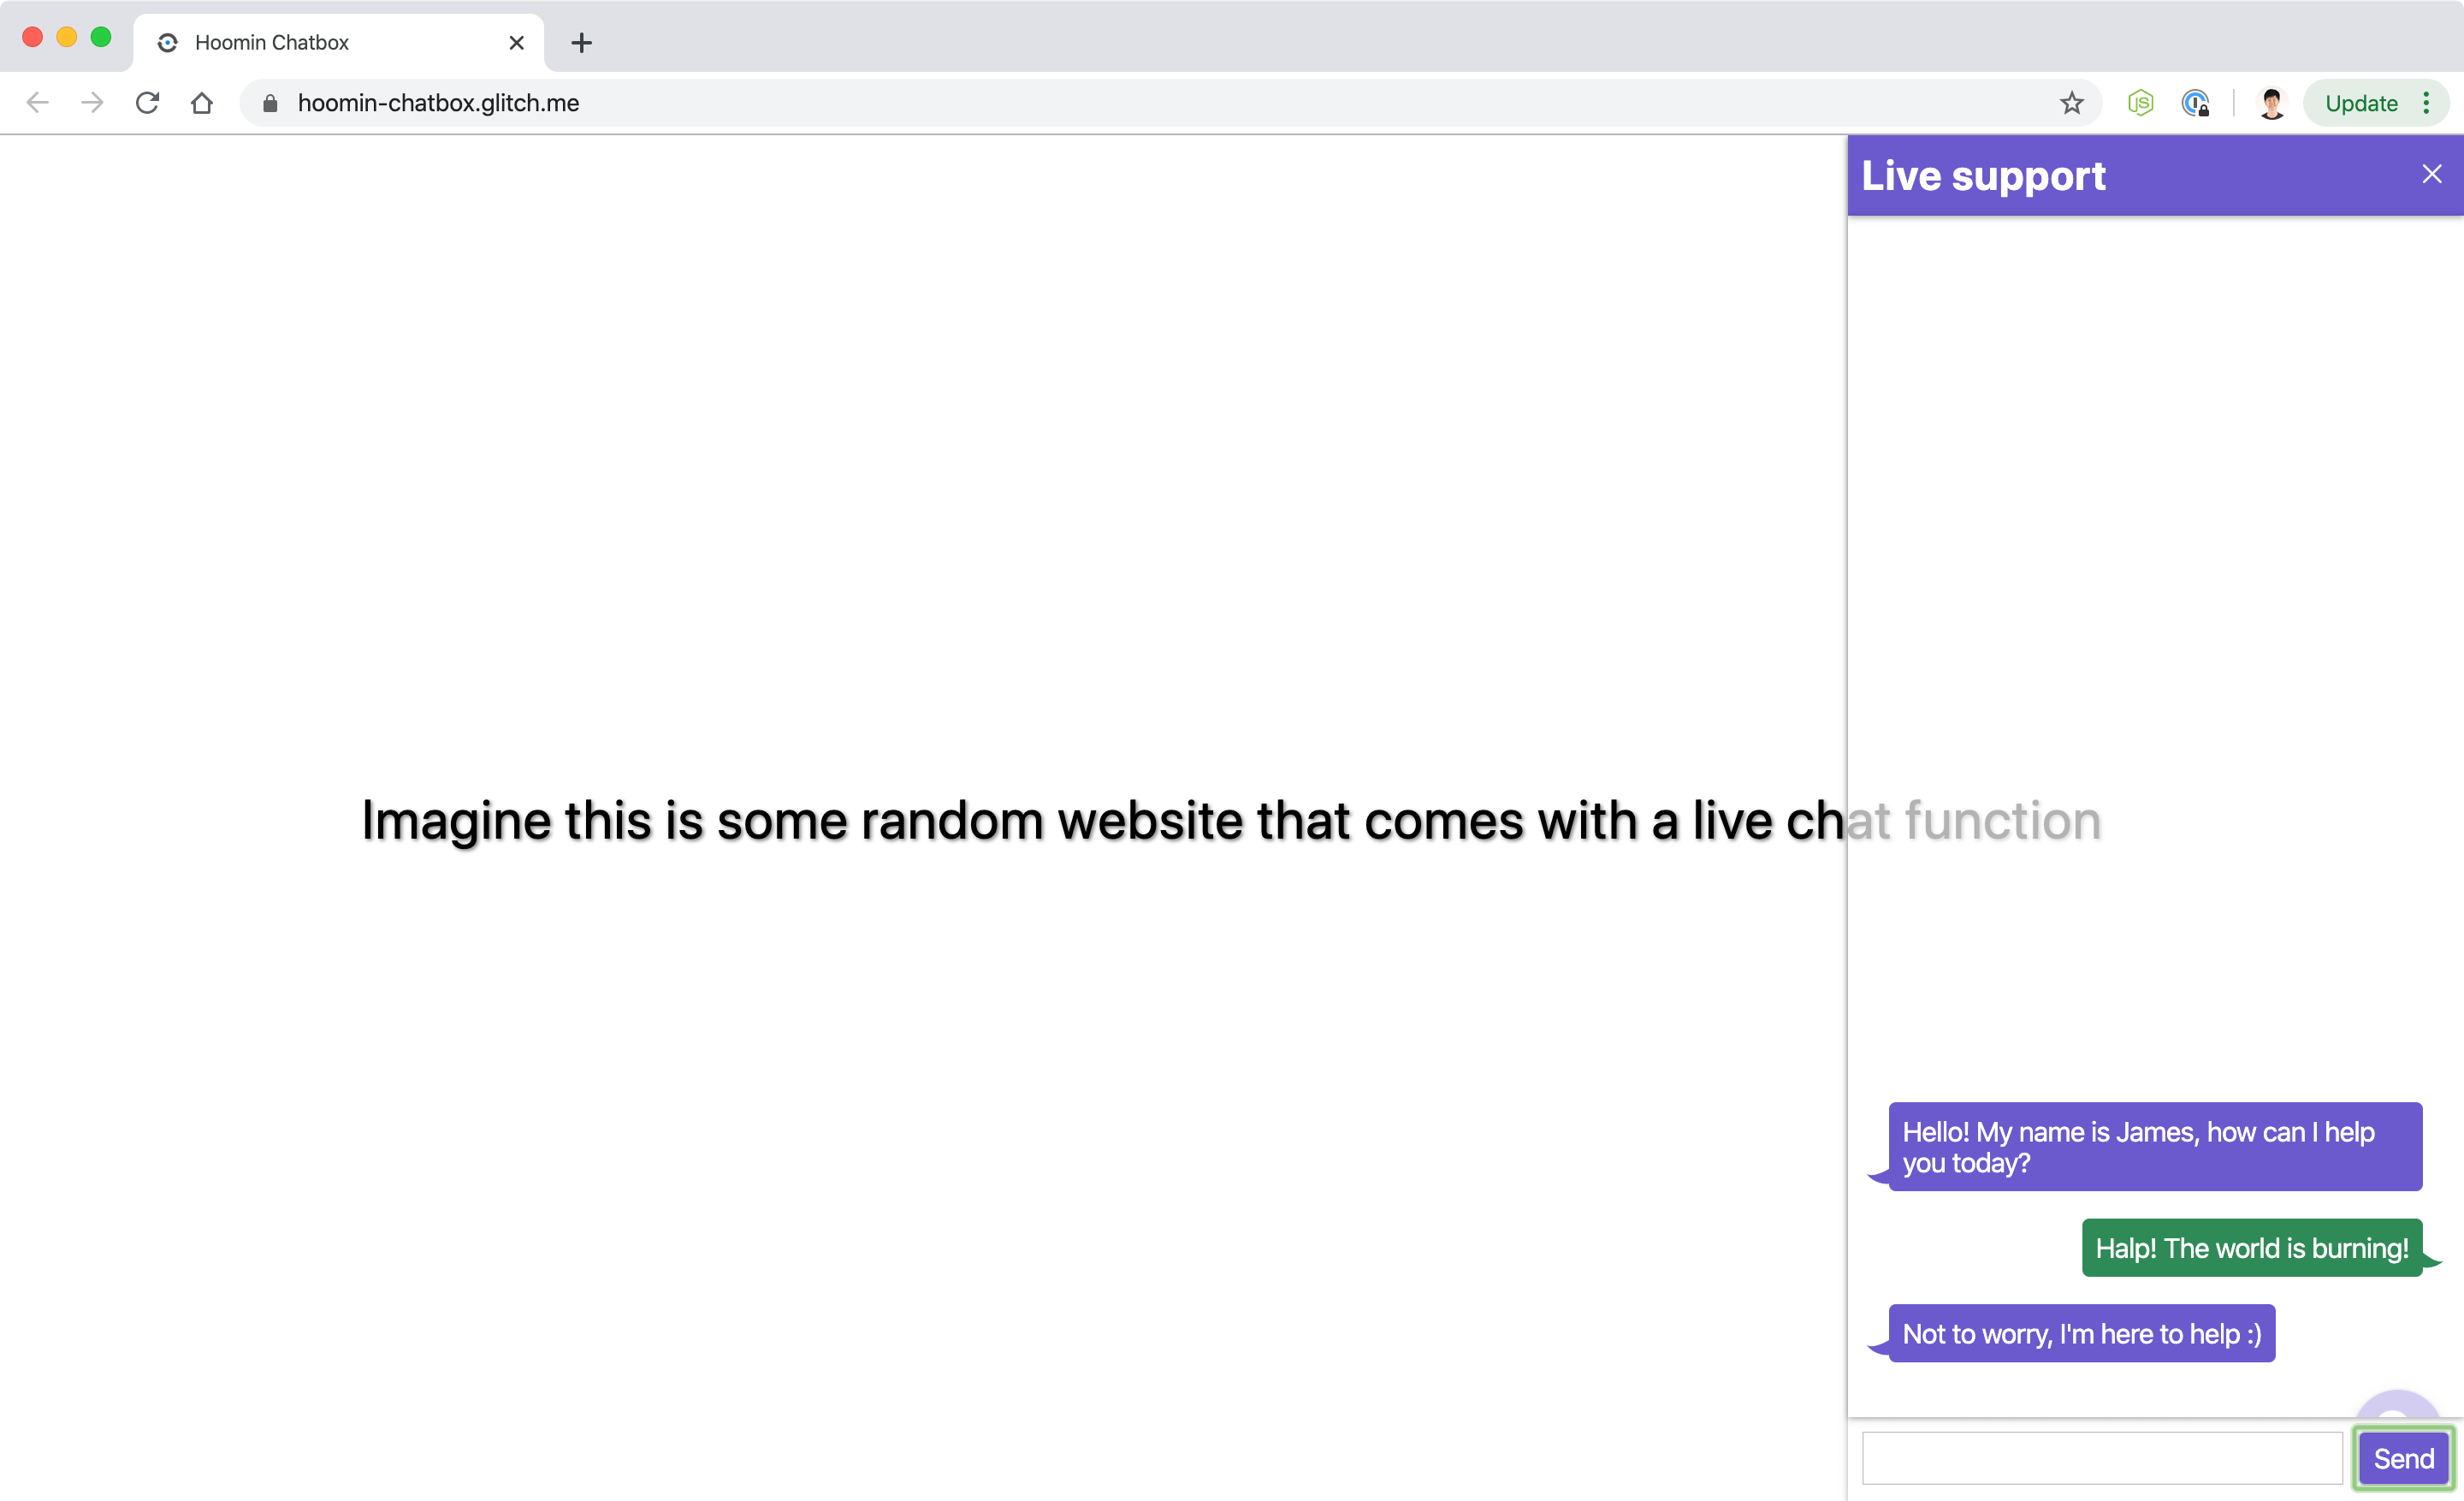
The customer side interface would involve a chat window that is triggered when the chat button is clicked. This window will slide in from the right and allow the customer to chat with the support agent.
The markup for this chat window is not too complicated. It has a header, a main message area and a form for text entry at the bottom of the window.
<aside id="chatWindow">
  <div class="header">
    <h1>Live support</h1>
    <button class="btn-close" id="closeChat"><svg viewBox="0 0 47.971 47.971"><path fill="white" d="M28.228 23.986L47.092 5.122a2.998 2.998 0 000-4.242 2.998 2.998 0 00-4.242 0L23.986 19.744 5.121.88a2.998 2.998 0 00-4.242 0 2.998 2.998 0 000 4.242l18.865 18.864L.879 42.85a2.998 2.998 0 104.242 4.241l18.865-18.864L42.85 47.091c.586.586 1.354.879 2.121.879s1.535-.293 2.121-.879a2.998 2.998 0 000-4.242L28.228 23.986z"/></svg></button>
  </div>

  <div id="message-area" class="messages">
  </div>

  <div class="controls">
    <form id="textentry">
      <input id="textbox" type="text" />
      <input id="submit" type="submit" value="Send" />
    </form>
  </div>
</aside>
We will not cover every line of CSS for this but I want to highlight how to make the chat window slide in from the side in a relatively more performant manner. In general, the properties that are safe to animate are transforms and opacity.
Ideally, the chat window should stay put while the user scrolls around the main page, so you would use a position: fixed on the chat window. Also, you would translate the chat window out of frame, and have it slide in when the trigger is clicked.
aside {
  position: fixed;
  top: 0;
  right: 0;
  transform: translateX(100%);
  display: flex;
  flex-direction: column;
  min-width: 20em;
  width: 25%;
  height: 100%;
  background: var(--background);
  box-shadow: 0 1px 5px rgba(0, 0, 0, 0.12), 0 1px 3px rgba(0, 0, 0, 0.24);
  transition: transform 0.5s ease;
}

aside.active {
  transform: translateX(0);
}
Using display: flex for the chat window allows us to ensure that the header and footer are always at the top and bottom of the chat window respectively, while the message area will grow to fill up the available space.
.messages {
  flex: 1;
  display: flex;
  flex-direction: column;
  justify-content: flex-end;
  overflow-y: scroll;
  padding: 1em 1.5em;
  box-shadow: 0 1px 5px rgba(0, 0, 0, 0.12), 0 1px 3px rgba(0, 0, 0, 0.24);
  max-height: calc(100vh - 6em);
}
Also, a typical chat would have the conversation laid out in an alternating left and right message bubbles according to the respective participants in the chat. Such a layout is more straightforward with flexbox as well.
Again, apply a display: flex on the message area. This allows you to use the box alignment properties on the individual messages. Then, it is a matter of applying a align-self: flex-end on the messages you would like to appear on the right of the message area.
.message.input {
  position: relative;
  align-self: flex-end;
}
The client-side Javascript for the chat window is needed to toggle the appropriate CSS class to hide and show the chat window.
function triggerChat() {
  const button = document.getElementById('showChat');
  appendMessage('Hello! My name is James, how can I help you today?', 'agent');
  button.addEventListener('click', event => {
    const chatWindow = document.getElementById('chatWindow');
    chatWindow.classList.toggle('active');
  }, false);
}

function closeChat() {
  const button = document.getElementById('closeChat');
  console.log(button);
  button.addEventListener('click', event => {
    const chatWindow = document.getElementById('chatWindow');
    chatWindow.classList.remove('active');
  }, false);
}

window.addEventListener('load', function() {
  triggerChat();
  closeChat();
  setupConversation('/api/new');
});
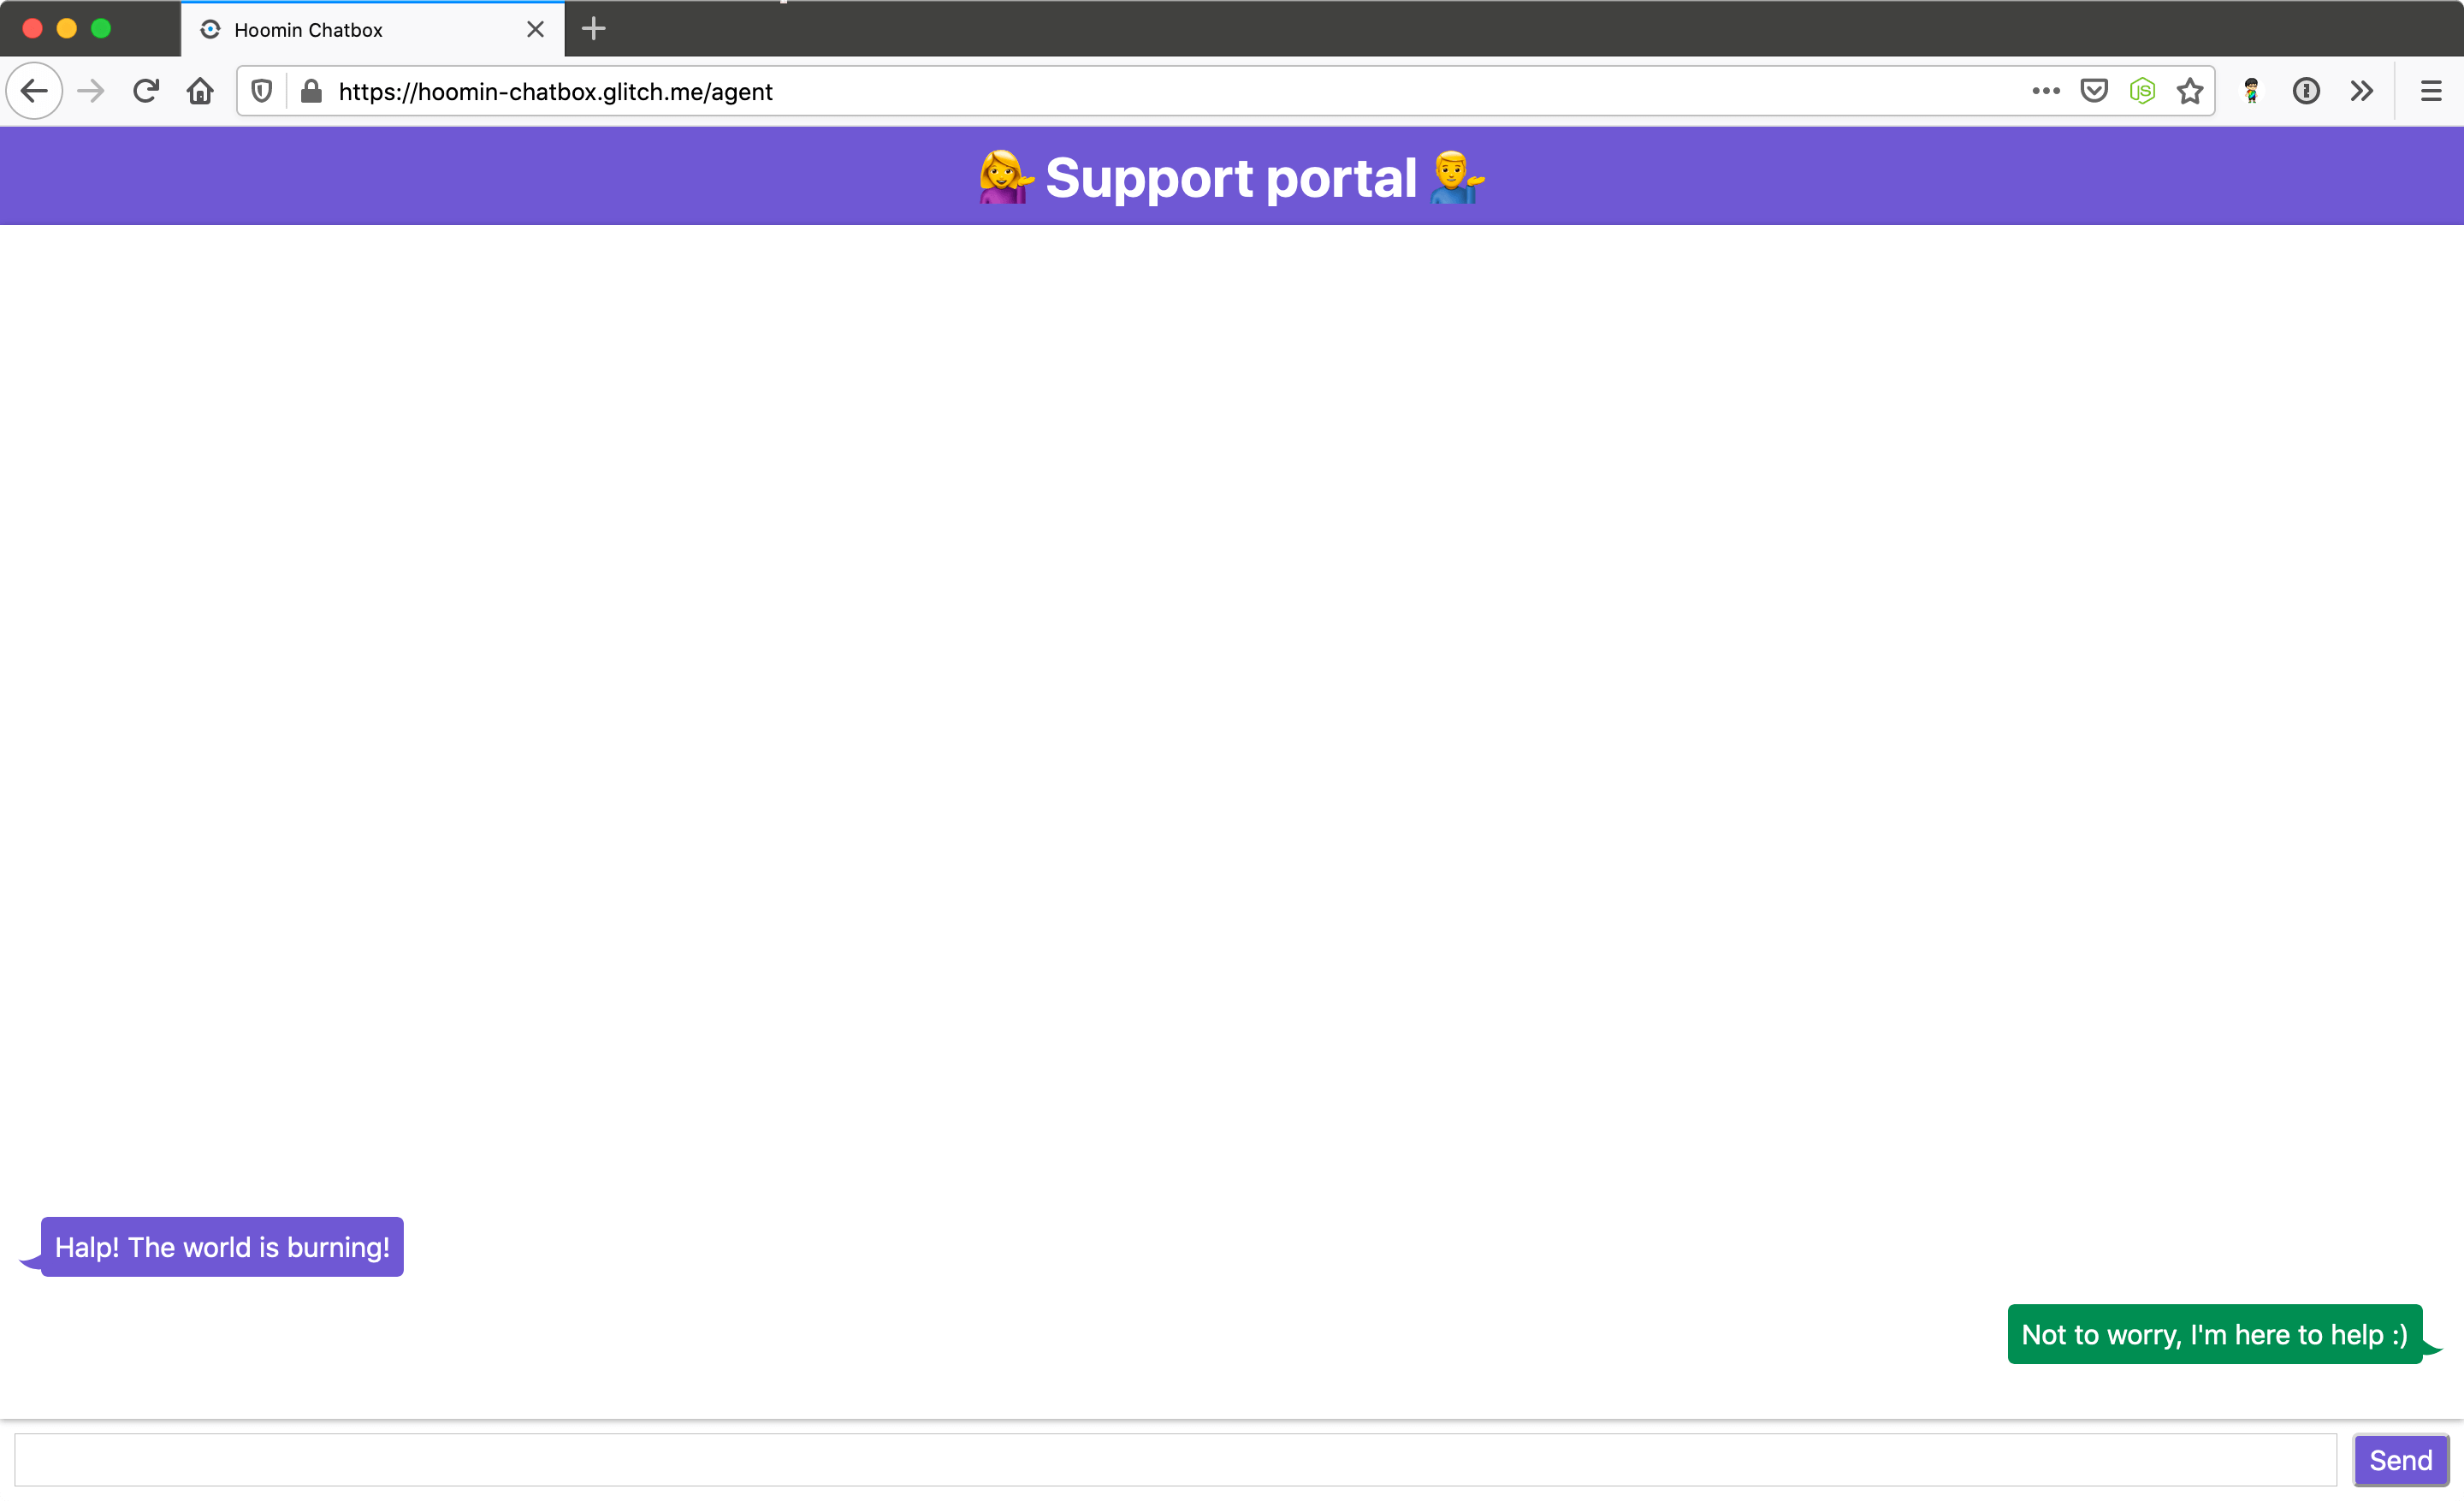
On the Agent Side
For the agent side, the messages can take up the entire viewport and be displayed by default. So the client-side Javascript file for the agent page involves passing the correct route for the fetch request to the server.
window.addEventListener('load', function() {
  setupConversation('/api/jwt/agent');
});
For the styling of the messages, it would be fairly similar to the customer chat window, except the styles would be reversed, as the typical design pattern is for your own messages to appear on the right, while messages received would appear on the left.
Where Next?
This tutorial did not make use of any frontend frameworks or module loaders because it was meant to simplify the application to place focus on the Conversation API, what it does and how it works. If you are keen to do more with the Conversation API, here are some links that might be helpful to you:
- Documentation for the Conversation API on the developer portal
- If you need us, try the Nexmo Community Slack channel
- Let us know what you think by tweeting at @NexmoDev